Business Card Scanner: A Better Way to Scan Business Cards into Evernote

We love what the folks over at Evernote are doing and we are big fans of their products. But to be honest, what they are doing with business cards makes me scratch my head. In general, are contacts something that belong in the form of a note? Something about that just doesn’t feel natural or at all convenient, given you likely have your contacts synced with other systems and devices.
None the less, the strange thing about scanning business cards into Evernote with their apps is that if you are using a native client application you can edit the card that you scanned (because contact data changes all the time), but if you are using the web application the note is locked from editing.
I digress.
If you are someone that would like to have your business cards scanned into Evernote as notes, we’ve got an option for you that allows for editing of the note no matter how you access the note.
The premise of this is pretty simple. After a business card is scanned a contact record is placed into your Evernote account as a new note.
Get the Zap: Scan Business Cards into Evernote
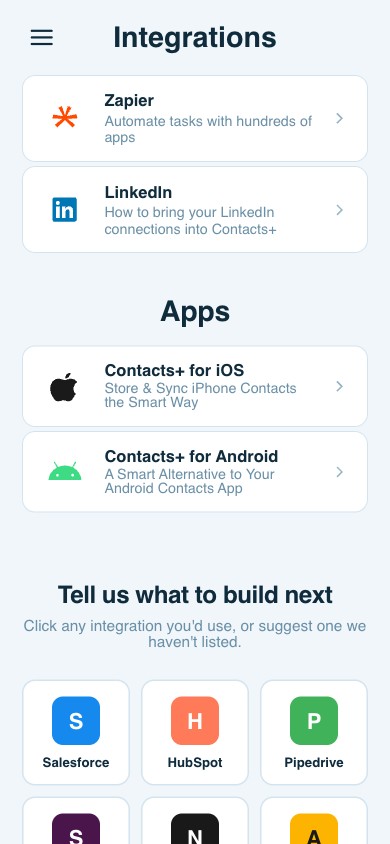
To get going, all you need to have is Contacts+ Business Card Scanner, a free Zapier account, and an Evernote account. You can add this Zap template to your Zapier account by simply following this link:
To integrate Contacts+ with Evernote, click here.
After setting up the Zap, ensure that it is turned on. Now open Contacts+ Business Card Scanner and go to Settings. Select Zapier and ensure that this new Zap shows up. If so, you are good to go.
If you are the type that needs to know how things work, or how to create a Zap like this from scratch, read on.
Creating this Zap
Again, you’ll need to have Contacts+ Business Card Scanner, a free Zapier account, and an Evernote account. Log in to Zapier and create a new Zap. The trigger, “when this happens…”, will be Contacts+ Business Card Reader. The action, “…do this”, will be Evernote. Be sure to select “Create Note” as the action for Evernote.
In steps 2 and 3 of creating the Zap, you will simply authenticate your Contacts+ and Evernote accounts. In step 4, we can add conditions that limit when a new business card transcription is used to create a new note. In this case, you should add a single filter that requires “vCardUrl” to exist so that cards that are blurry or don’t contain contact information don’t get sent as errors from Zapier.
In step 5 you get to create the layout for your note. You need to first select a notebook, and then enter the various fields for the note similar to as shown below. You can add a reminder if you wish, or attach a file to the note. You might find it useful to attach the “vCardUrl” to the note.
Finally, in steps 6 & 7 you can test the Zap, name it, and turn it on. When you test the Zap, you can then go into Evernote and you should see an example note added using the test data from Zapier, as shown below.
Enabling the Zap in Card Reader
You can now go to your device and open Business Card Scanner. Go to settings and select integrations and then select Zapier. When the screen loads you should see the new Zap that you just created! If you do not see it, ensure that the Zap is enabled in Zapier. You can do a pull refresh on iOS devices or tap the refresh button on Android to reload the Zaps to your device.
And there you have it, a better way to scan business cards into Evernote.
Related articles


Put your contacts to work
Sync, enrich, and clean your entire address book with ContactsPlus — free to start.
Sign up free ← Back to all articles