How to Use Zapier to Clean Up User Data

They say Zapier makes you happier — and it really does, according to those who have used the automation platform to connect apps and automate workflows across their businesses. While Zapier can help you streamline data management tasks (for example, automatically copying lead data from a Squarespace form to an email list), it doesn’t provide built-in data cleaning features.
And if you’re pushing duplicate lead data from multiple channels into your contact management app, you can imagine how messy things can get. For instance, if you have a new lead you’ve spoken to on multiple channels, and Zapier is connected to all of those channels, how do you know if the most accurate data is from LinkedIn, Gmail, or somewhere else?
That’s why we’re sharing our tips on using Zapier to clean up user data. Data hygiene is everything when it comes to contact outreach, so here’s how we suggest you use Zapier to keep your contact data fresh and free of duplicates.
Identify the Data Cleaning Requirements
You can’t make a roadmap if you don’t know where you’re starting, and this applies to data cleaning, too. What data cleaning tasks are most important to you? Do you have a number of duplicate contacts, or have you noticed an increase in “bounces” or issues with inaccurate data? Are you lacking standardization when it comes to formatting phone numbers, capitalizing names, or validating email addresses? Identify those high-priority data-cleaning tasks before you begin so you can focus your efforts.
Connect Your Contact Management App with Zapier
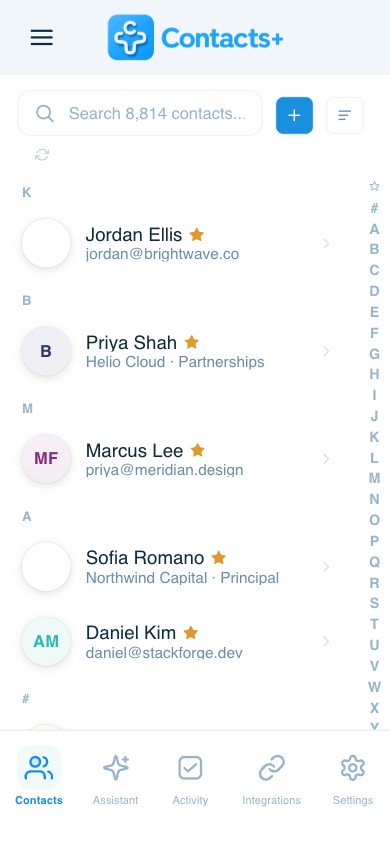
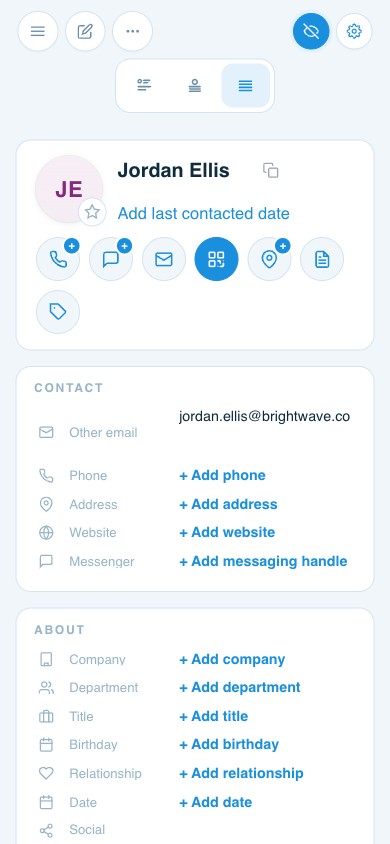
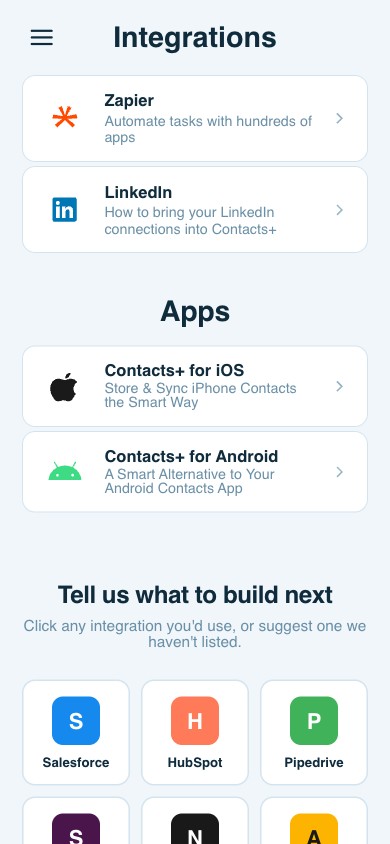
Zapier connects with over 5,000 apps, so there’s a good chance they support your contact management app, whichever it is! This includes Salesforce, Hubspot, Google Contacts, and Contacts+. To set up the connection between your app and Zapier, authorize the necessary accounts.
This often means copying an API code to Zapier from the other app you use (usually available in “settings” or the “developer” section of an app) and testing the connection to make sure it works.
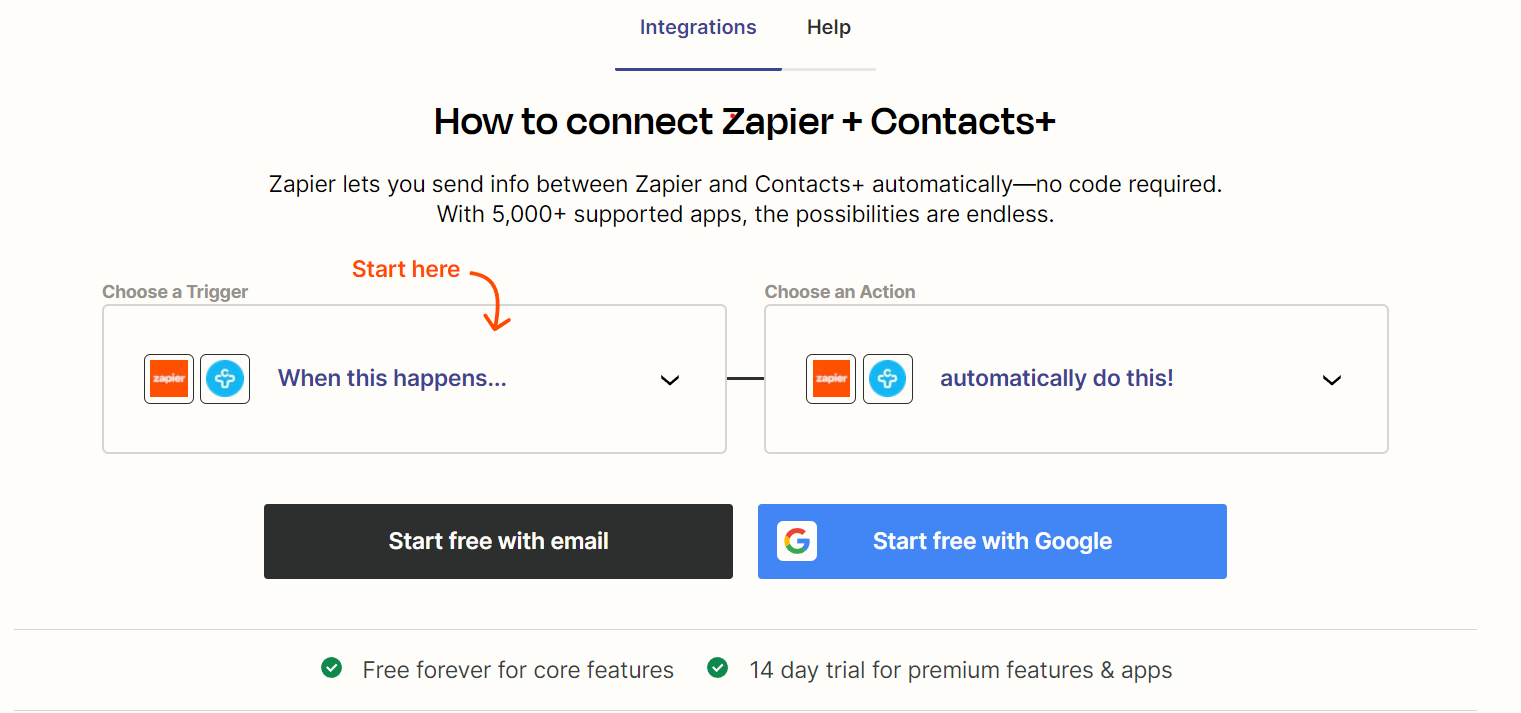
Define Trigger and Action Events
In Zapier, a “Zap” has two parts: a trigger and an action. The trigger is the event that sets off the automation (say, a lead fills out a form on your website), and an action completes the automation (the lead data from your form copies over to your contact management app.)
In the case of data cleanup, the action will be the task you want to perform on the data — capitalizing all first names, adding tags or categories to groups of contacts, or formatting physical addresses in a specific way, for example.
Choose a Data Cleaning Tool or Service
If you’re not already using a data cleaning tool, Zapier integrates with various apps and services that can help organize and clean up data. Because Zapier doesn’t yet integrate with specialized data cleanup tools like OpenRefine or Trifacta, you may need to first pull all of your cross-platform data into one place (like your centralized, AI-powered Contacts+ address book) before setting up an automation to clean it.
Design Your Zap Workflow
It’s time to create your data cleanup zap! Depending on your goals, you may need to create different Zaps for different tasks. In fact, it’s often better to have multiple Zaps performing different functions than to link too many actions to one Zap. It makes it easier, down the line, to edit and update Zaps if each one is serving a unique function. Here are some examples of Zap workflows you might use to clean up your data:
- Edit formatting each time a new contact is added.
- Update a contact’s email address in your contact management platform when their email changes in Gmail.
- Change a contact’s tag when that tag is updated.
- Automatically remove duplicate contacts.
Set up a Trigger and Action
Zapier makes it fairly straightforward to set up your trigger and action workflow. First, you’ll choose the starting app — for example, if your goal is to standardize the formatting of your contacts’ info, your “trigger” might be something like “new contact added.”
Then, your action would be to capitalize the first name, verify the email address, or something else to ensure the data is accurate and formatted correctly.
Map the Data Fields
While you create your workflow, Zapier will prompt you to map data fields from one app to the other. For example, if you use a Benchmark Email form to capture user data, your form fields might be Name, Email, Phone, and Address.
If you want to port this data automatically to your contact management app, however, you need to “tell” the app what each of these fields means. Zapier will make its best guess about most fields, but for more obscure ones (say, “reason for contacting” or “industry”), it may ask you to map those fields so data is passed on correctly.
Test and Activate the Zap
As you move through each step to create your Zap, Zapier will prompt you to test different steps or pull sample data to make sure everything’s working correctly. At the end, once you’ve finalized your trigger, action, and field mappings, you’ll want to do a final test to ensure the full workflow is functional.
You can do this on your own by creating a “test” contact in your trigger app and seeing if the workflow triggers automatically. Depending on your subscription level in Zapier, this could take 15 minutes or more to execute — so don’t be discouraged if your test doesn’t work right away!
Once you’re satisfied with the results, activate your Zap to start automating the data-cleaning process.
Monitor and Refine the Zap
It’s easy to “set it and forget it” with Zapier, but it’s wise to regularly monitor the execution of your Zap and review the cleaned-up data to keep everything running smoothly. If you encounter any issues or find areas for improvement, you can refine your Zap by modifying the trigger, action, or data-cleaning steps just like you did before.
Related articles


Put your contacts to work
Sync, enrich, and clean your entire address book with ContactsPlus — free to start.
Sign up free ← Back to all articles