8 Best Tips for Using Google Sheets to Manage Your Contacts

Starting a contact list can be a daunting task, especially if you’re not sure of the best method. While manual entry is certainly an option, inputting each contact by hand can lead to errors or omissions.
Using Google Sheets for contact management can help streamline the process, but it’s important to understand how to use it correctly so you don’t waste time (or make mistakes that can affect your networking strategy). In this article, we’ll cover the best tips for using Google Sheets for contact management and why an app like Contacts+ is your best bet for staying organized.
1. Create Templates
Google Sheets can be a powerful tool for contact management if you take the time to create the right templates. First, consider what information is most important to store and include columns with labels such as:
- Name
- Email address
- Phone number
- Business name
- Job title
You can even add additional columns like notes or interests, which will help personalize your communications with each contact. Once you have created this template, it makes adding contacts much easier.
It is also important to make sure that your data is organized by setting up filters and sorting options in Google Sheets. This helps keep things orderly and allows you to quickly search for specific entries without having to manually scroll through hundreds of lines of data.
You can also set up formulas to automatically calculate things such as the total number of contacts, the average age of contacts, or any other metrics that you are tracking.
2. Use Formulas
Using formulas can be a quick ticket to a lot of control in Google Sheets and can help simplify contact management. Common formulas such as SUM, COUNTIFS, IF, VLOOKUP, INDEX/MATCH are all great tools to help you organize your spreadsheet data and get it into the right format.
The VLOOKUP formula allows users to search for specific values within a sheet. To use this formula, enter “VLOOKUP” into the cells you wish to search, followed by the range of cells you would like it to look through, as well as a parameter for what kind of value you are looking for (e.g., name). This is useful if you need to find a particular record among hundreds or thousands.
The COUNTIF and SUMIF functions can also come in handy when managing contacts in Google Sheets. The COUNTIF function helps determine how many contacts match certain criteria, while the SUMIF formula can help sum up values based on certain filters. For example, you could use COUNTIF to figure out how many contacts are in a specific country and then use SUMIF to add up the total number of contacts from that same country.
Finally, the LOOKUP function is great for quickly finding information in large datasets. It works by looking through two or more columns at once and returning an associated value when it finds a match. This function can be used to search through contact lists and find phone numbers or email addresses associated with each contact.
3. Try Conditional Formatting
Use Conditional Formatting to make your sheet more visually appealing and better organized. For example, highlight all contacts who are VIPs or highlight cells which contain duplicate data so it’s easier for you to spot errors quickly and avoid mistakes when inputting data into the sheet.
You can use the same color to represent VIP contacts or customers who have engaged with your business recently so that you can quickly identify them when running reports.
4. Take Advantage of Filters
Utilize filters to quickly sort through large amounts of data. For instance, use filters to sort contacts by location or alphabetically to easily find the contact you need in your spreadsheet. Here are some other quick tips for taking advantage of filters in Google Sheets:
- Use Advanced Filtering: If you have a large amount of data in your Google sheet, then advanced filtering will be especially useful. This type of filter allows you to specify criteria so that it only displays rows or columns with corresponding characteristics.
- Utilize Wildcard Characters: Wildcard characters allow you to search for partial terms within a given text string. For example, if you’re looking for any contact with the last name Smith, you can enter sm* into the filter box, and it will return all contacts with a first name that starts with “sm.”
- Use Custom Filters: If you have specific criteria that you need to meet, then custom filters are perfect for this. You can set up precision parameters like exact matches and ranges in order to get the most accurate results possible.
- Organize Your Data: Once you have your data filtered out, it’s important to keep it organized so that your contacts are easy to access and update. Group similar fields together or use color coding for visual cues if needed. This way, you’ll be able to find what you need quickly and easily.
Using filters in Google Sheets is an excellent way to manage your contacts and keep them organized. With the right tools, you can quickly find the information that you need and keep everything up-to-date.
5. Set Data Validation Rules
Data validation rules are a great way to maintain control over data in Google Sheets. By setting up these rules, you can ensure that the data entered into your spreadsheet meets specific criteria and is accurate. This can be particularly useful when managing contacts – as it allows you to precisely define what information needs to be provided by users.
To set up data validation in Google Sheets:
- Go to the Data tab, then select Data Validation.
- In the Criteria section, choose which type of criteria should be applied (e.g., text length) and specify the parameters for this rule (e.g., minimum/maximum length).
- Then, enter a custom error message that will appear when the rule is violated.
- Finally, click Save to apply the rule.
It’s important to remember that data validation rules are only enforced once users enter their information. Therefore, it’s essential to set up comprehensive rules in order to ensure accuracy and consistency throughout your contact list.
With this in mind, you should be sure to cover all of the necessary criteria for managing contacts – such as verifying phone numbers, email addresses, and other key pieces of contact information.
6. Use Auto-Fill to Quickly Input Data
Autofill is an extremely powerful tool to quickly and easily manage a list of contacts. It allows you to fill out entire columns with data from other sources, such as another spreadsheet or even your own contact list.
To use autofill, select the cells you want to fill and then click on the “Autofill” option in the toolbar at the top of the page. You will see a pop-up window that gives you several options for filling out the cells. For example, you can select “Copy down” if you want to copy information from one cell down into all subsequent empty cells below it. Or you can choose “Fill series” if you want to enter a series of numbers or letters in the cells you have selected.
You can also use autofill to quickly enter contact information from your own contact list. Simply select “Use my contacts” and then choose which columns you want to import from your contacts. The data will be automatically filled into the column for each row where there is an empty cell.
If you want to import data from another spreadsheet, select “From a range” and then specify the range of cells that you would like to copy over. This feature is particularly useful if you are creating a new spreadsheet based on existing data from another source.
7. Create Separate Tabs
Create separate tabs for different types of contact management tasks, such as sales leads, customers, vendors, etc., so it’s easier for you to manage and organize your information. Using separate tabs in Google Sheets is a great way to manage contacts because it helps keep data organized and easier to read.
With separate tabs for each type of contact, such as clients, vendors, or partners, you can easily access the information that you need without having to search through hundreds of rows. For example, if you want to quickly review all your clients’ information in one place, simply click on the tab labeled “clients,” and all their details will be there.
Separating contacts into different tabs allows for more detailed customization and better organization. You can add columns with specific categories such as job titles or industry types – things that would be difficult to do if everything was all together on one sheet.
8. Use Google Sheets to Import Contact Data
Google Sheets allows you to import contacts from other sources, such as CSV or XLS files, and automatically populate your spreadsheet with the relevant information. You can also manually add contacts one by one, allowing you to build up an accurate list of contacts.
The imported contact data can then be sorted and filtered by category, allowing you to identify key contacts or groups of people based on their shared attributes. This makes Google Sheets ideal for targeting specific customer segments or creating segmented email campaigns.
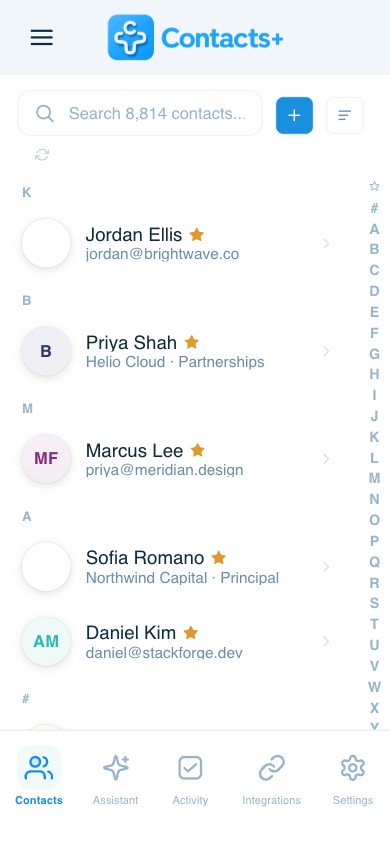
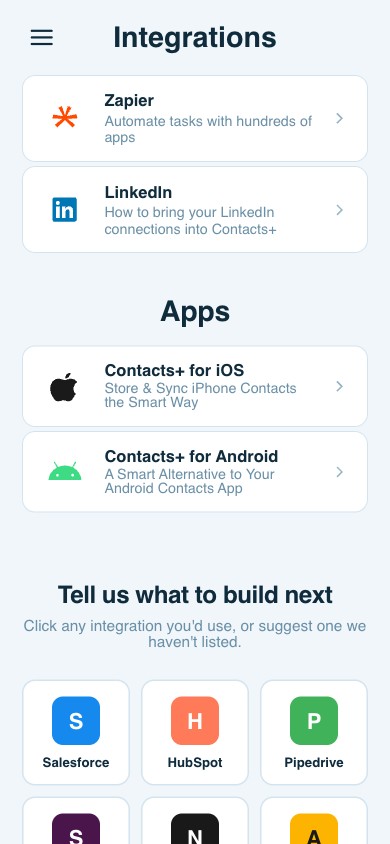
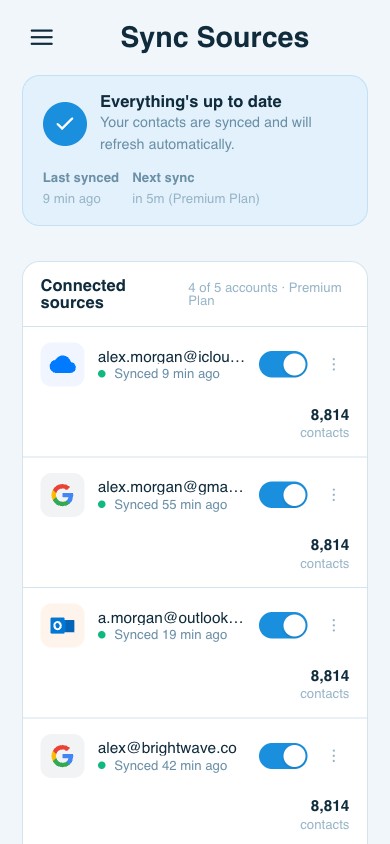
Contacts+: an Alternative to Google Sheets
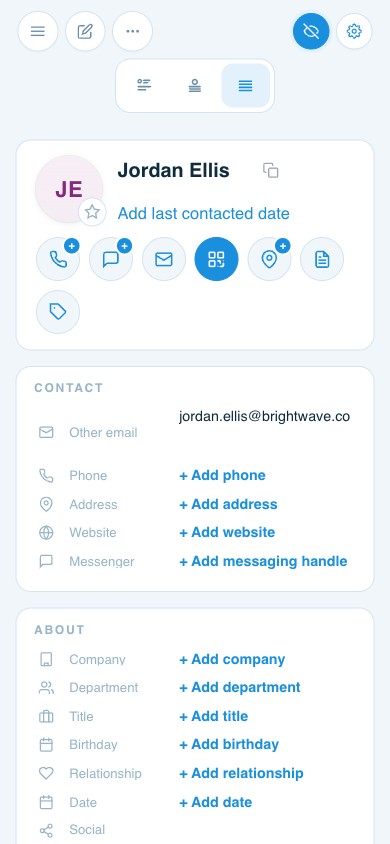
Although Google Sheets is great for managing and organizing contacts, it has its limitations. A contact management app like Contacts+ offers a number of features that can help make your life easier when it comes to managing contacts. By using Contacts+, you get access to features like:
- Automatic detection and merging of duplicate contact records
- Completion of profiles that have missing information
- Connector+ that pulls contacts from social media accounts and adds them to your address book
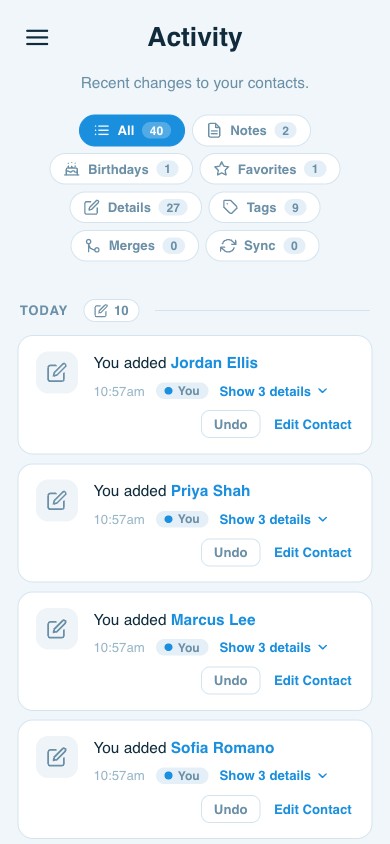
- Routine scans that will keep all contact records up-to-date
- Teams, which offers easier internal collaboration for contact outreach
- A business card scanner that takes physical contact information and adds it to your digital address book
By using an app like Contacts+, you can save time and energy while still maintaining an organized list of contacts. And no more scrambling through various spreadsheets and apps to find the right contact. Contact+ syncs across multiple tools, so you can rest assured that all your contacts are in one central location.
What are you waiting for? Sign up for a free Contacts+ account today and get access to better contact management and outreach today!
Related articles


Put your contacts to work
Sync, enrich, and clean your entire address book with ContactsPlus — free to start.
Sign up free ← Back to all articles