
How to Scan Business Cards into a Spreadsheet
Conferences, trade shows and business meetings still run on business cards. Ideas get shared, cards get handed over, and you come home with a stack of them at the bottom of your bag.
The problem is what happens next. A card sitting in a drawer is not a contact, and typing a pile of them into a spreadsheet by hand is the job nobody gets around to.
Following up with these new contacts is important, so you’ll want to make sure you have them stored in a central location. Here is an efficient, hands-off way of getting those business cards into a spreadsheet — and lucky for you, ContactsPlus has you covered.
Getting started is simple. You will need:
- a ContactsPlus account (and our Android or iOS app)
- a Zapier account
- a Google (or Gmail) account
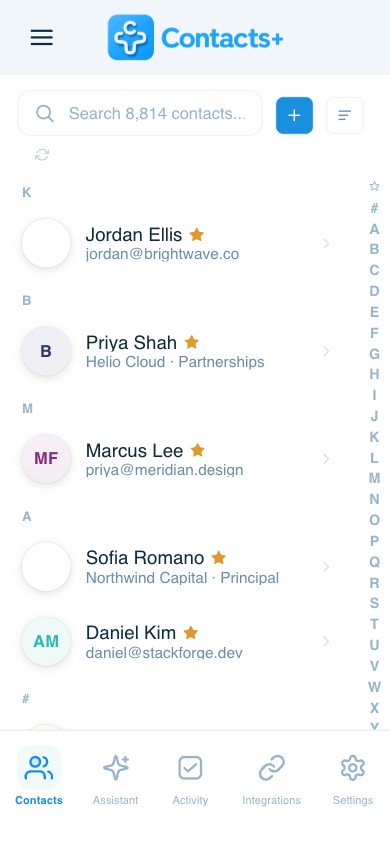
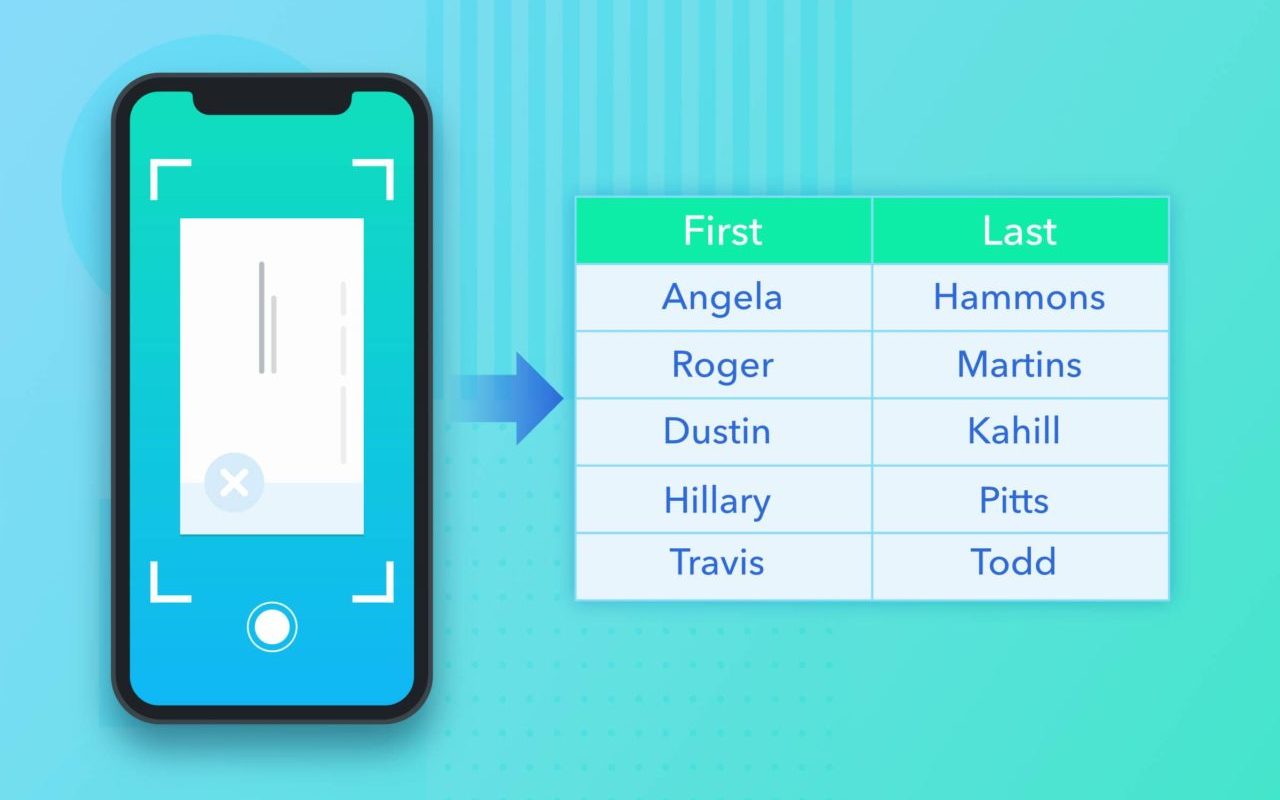
The way this will work is that you will use the ContactsPlus mobile app to take pictures of your business cards. ContactsPlus then transcribes the cards and sends the information to Zapier, where you’ll be walked through setting up a Zap to send the data onto a spreadsheet. Once in Google Sheets, you can then export the data as an Excel document or csv.
Let’s Get Started!
Sign Up for ContactsPlus and Download our App
First, you’ll need to create a ContactsPlus account. You’ll use this account to scan the business cards you want to save via the mobile app. The free plan includes a few scans so you can try it on a real card, and Premium adds a monthly allowance — see the pricing page for the current numbers. Once you create your account, download the app for iOS or Android, sign in, and get started with capturing cards by hitting the +.
Create a Google Sheet in Google Drive
To get started, we need to create a Google Sheet and add headings to the first row of the sheet. This sheet will be used for capturing the transcribed business cards sent from Zapier.
Give the sheet a name, I used “Business Cards”. Then, in row one of the sheet start adding the column descriptions, such as first name, last name, email address, company name, job title, phone, etc. Follow this link to learn tips and tricks using a Google Sheet with Zapier, as there are some things that you can and can not do.
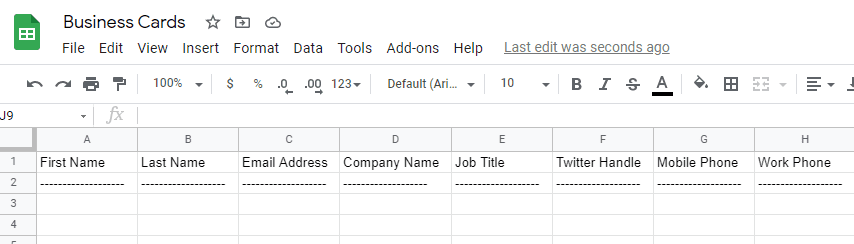
Keep row one for headings and nothing else. Zapier reads that first row to work out which column each business card field belongs in, so anything else sitting up there is the usual reason the mapping step comes back empty.
Get the Zap: Scan Business Cards into a Spreadsheet
Next, you will create a Zapier account if you don’t already have one.
There is a Zap template that already exists if you want to use a pre-created template to scan business cards into a spreadsheet! However, you will need a Zapier account to access that template.
Zapier will provide you with step-by-step instructions for setting up the Zap. Or, if you prefer, we’ll walk you through creating the Zap from scratch.
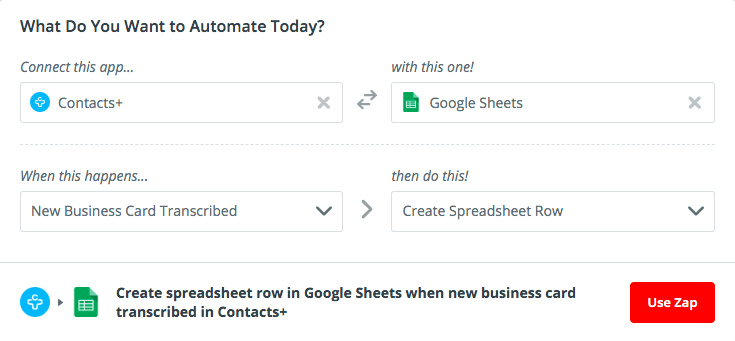
To get started, log into your Zapier account and start a new Zap. It will ask you to pick a trigger app, so search for and select ContactsPlus.
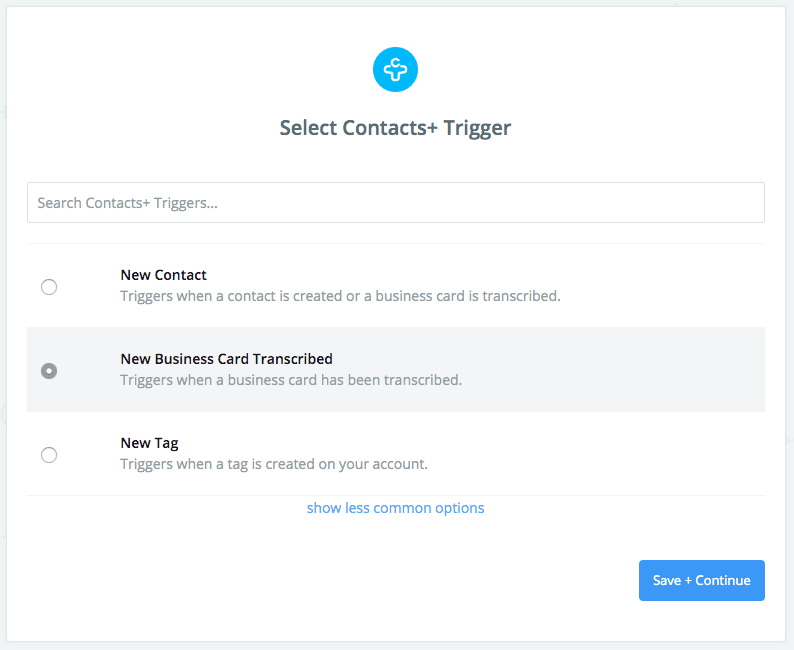
You will then select the trigger “New Business Card Transcribed.”
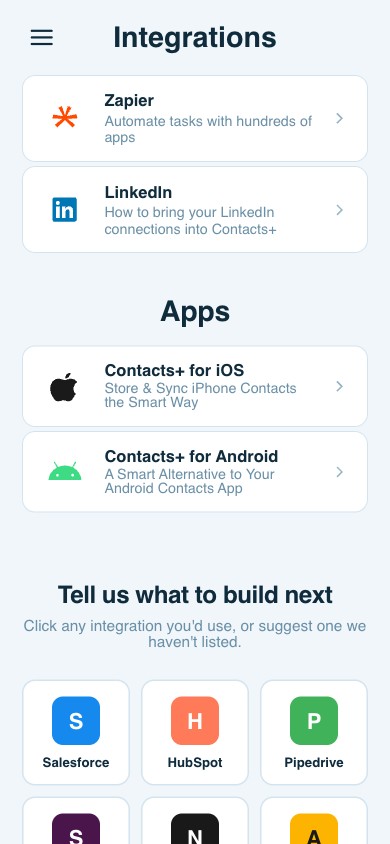
Next, you will be prompted to authorize Zapier to connect your ContactsPlus account. After doing this you will be taken to some advanced settings where you have the option to use this Zap with a ContactsPlus Team or with Tags. For now, we will just skip these settings and select “Continue.”
Zapier now will request that you test the step. If you want, you can scan a card and wait for it to transcribe. However, it’s much quicker to just select “Skip this Step.” Zapier will then prompt you to either use a default sample or your own sample for mapping the data. Select “Continue with Default Sample.”
Zapier now requires that the Action app be selected. You will search for and select Google Sheets. You will then select “Create Spreadsheet Row”. Next, you will be prompted to authorize Zapier to access your Google Sheets account.
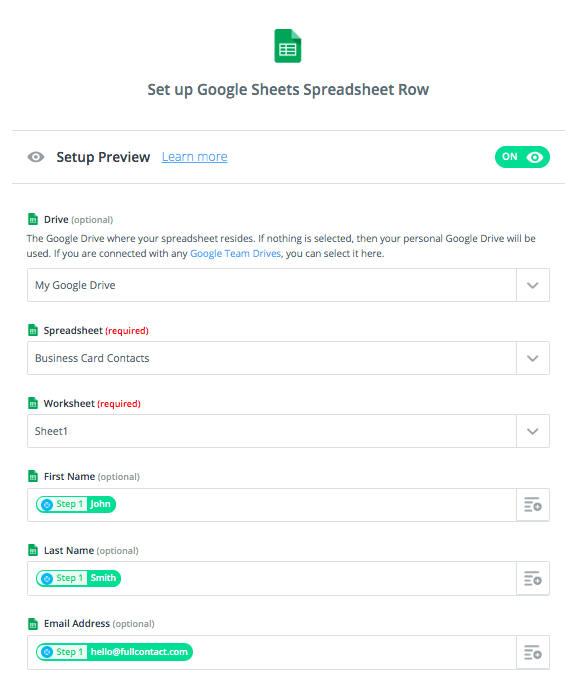
Next, in “Set Up Template,” you will find and select the Google Sheet you created earlier (in my case, “Business Cards”). Additionally, you need to select the sheet, likely “Sheet1” unless you renamed it. You should then be asked to create the field mapping between the ContactsPlus business card fields and the spreadsheet. You will need to fill it out appropriately as I’ve done below.
After continuing, it will ask if you’d like to test the step. Upon doing so, assuming you’ve set things up properly, return to your spreadsheet to see a row populated with the sample data.
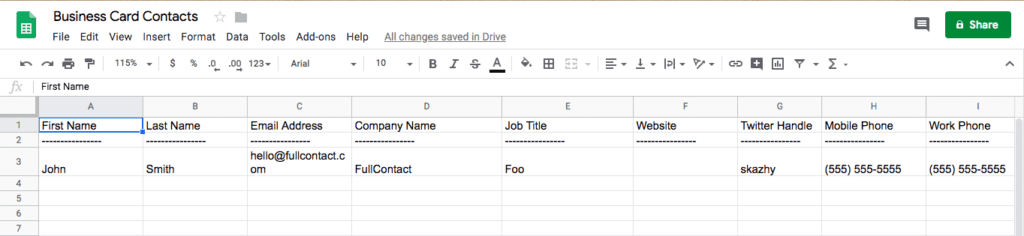
Finally, back in Zapier, you will name your Zap (I used “ContactsPlus Business Card Scan to Spreadsheet”) and then turn it on.
You are all set! You can now start scanning real business cards with the ContactsPlus mobile app. Once scanning is completed, your new contacts will be added to the spreadsheet.
Related articles
Hack Your Inbox Using Gmail Filters & Labels
Scan Business Cards Into All Your Apps with FullContact + Zapier

The Network Flywheel: Building a Living Contact List That Works for You
Put your contacts to work
Sync, enrich, and clean your entire address book with ContactsPlus — free to start.
Sign up free ← Back to all articles